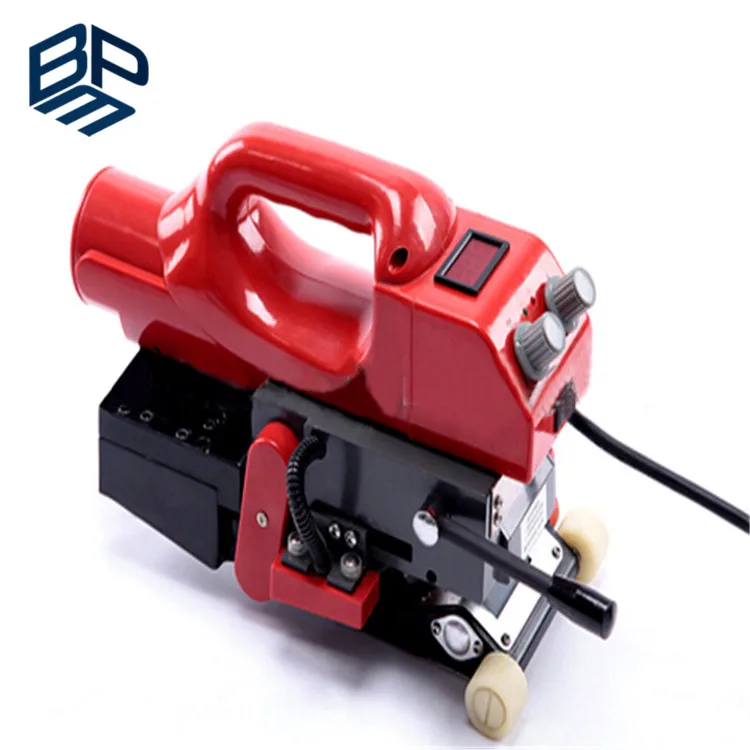
TOP4500 Hot Air Seamless Welding Machine Plastic Welding Gun PVC Banner Welder UV Backlit Tape Welding Machine
- Category: Plastic Welders >>>
- Seller: The,Best,Project,Material,Co.,Ltd.
Share on:
Product Overview
Description
Geomembrane Welding machine
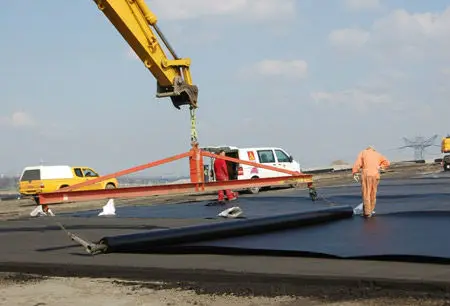
Geo-membrane welding machine is our new developed products, which can weld geo-membrane of various thickness and are applicable for welding of all thermal-fused material such as LDPE, PVC, HDPE, EVA, PP and so on.
The control of this series of welding machine adopts PID automatic thermostatic control with high control accuracy and low temperature fluctuation; speed control adopts PWM automatic voltage and speed regulation circuit, driven by DC servo motor, with great output torque and the operating is stable. It can maintain a constant speed on the condition of creeping, vertical creeping and variable road load. Also this series of welding machine is stable in performance despite of external temperature and voltage variation.
Weding the following materials
1. Technical parameters
Voltage (V): 220V
Frequency (Hz): 50Hz
Power (P): 800W
Welding speed (V): 0.8-6m/min
Heating temperature (T): 0-450°C
Thickness of material to be welded: 0.2mm-2.0mm
Overlap width: 100mm
Welding width: 12.5mm×2, interior cavity 12mm
Seam strength: ≥85% base material (tensile resistant in shear direction), complete machine
Dimensions: L32 x W15cm x H22cm
Net Weight: 4.8kg
Gross Weight: 8.5kg
Insulation class: class II
.
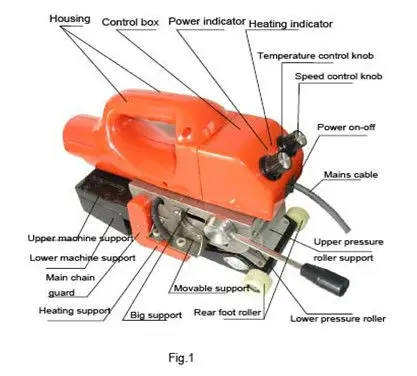
2. Main Components:
3. Operation principle
Motor drives upper and lower pressure rollers to rotate through reduction gearbox and chain. Slide carriages drive the hot wedge and insert it between the two base materials, at the same time lever presses pressure rollers and engages the two fused base materials.
Pressure roller |
Spring strip |
Hot wedge |
Run direction |
Lower membrane |
Upper membrane |
Fig.4 Welding schematic diagram
4. Operating regulations
As welding quality is direct related to speed and temperature setting during operating, so welding machine must be specified personnel operated to reach excellent quality and high efficiency.
Run direction |
Fig.5“T”shape welding diagram
5. Replacement of components
1). Replacement of hot wedge assembly
Remove the front end covering, remove the 4-M4 screws and tapping screw, remove a half housing, release 4-M3 screws, remove the 2-M5 screws that connect heating support and slide carriage, remove hot wedge and replace with a new one, and reassemble the complete machine (shown as fig.6). Note: conform to color on wiring.
(Refer to fig.10 and text information)
Front end coving |
4-M5 installation screws |
Tapping screw |
4-M3 turnbuckle screws |
4-M4 screws |
Fig.6
2). Replacement of control box
8- M3 turn buckle screws |
Rear base of control box |
Fig.7
3). Replacement of motor
Remove all screws on housing, remove front end covering to remove housing, remove the 4-M5 installation screws on the support, remove the main chain guard and separate the upper and lower support. Remove the covering on the bottom of upper support and weld connection between motor and fuse holder, screw off the 2-M5 installation screws of the motor, take off motor and replace a new one. Weld back the removed wires and reassemble on the opposite sequence (Note: keep upper and lower pressure roller is parallel during assembling.).
4) Replacing of upper and lower pressure roller
Remove the chain guard, take off the forcing off screws on the two chain wheels and then remove chain wheel and chain. For upper rubber wheel, it can be removed if the two screws on bearing housing that on both sides of press plate are removed. For lower rubber wheel, it can be removed if the bearing on one side of chain wheel. Reassemble them in the same method.
6. General troubles and eliminations
Motor not run | Power off | Check that the mains is in On condition |
Fuse damaged | Replace fuse | |
Speed control circuit board damaged | Replace speed control circuit board or control box assembly | |
Motor burned | Replace motor | |
Motor speed can’t be regulated | Speed control knob is loosened | Tighten speed control knob |
Power tube disruption | Replace power tube or control box assembly | |
Hot wedge do not heat | Tubular electric heating element damaged | Replace hot wedge assembly |
Thermocouple failure | Replace thermocouple | |
Temperature control knob loosened | Tighten temperature control knob | |
Temperature control circuit board damaged | Replace temperature control circuit board or control box assembly | |
Hot wedge is burned red | Thermocouple failure | Replace thermocouple |
Controlled silicon disruption | Replace controlled silicon or control box assembly | |
Chain jumping | There may be sand or small stones on chain and gear | Remove sand or small stones |
7. Maintenance
The complete machine should be cleaned, greased and placed in a dry place if it is not used.
For PVC welding, the adhesions on hot wedge should be cleaned off if it is not used longer than 4 hours to prevent wedge corrosion and service life being shortened.
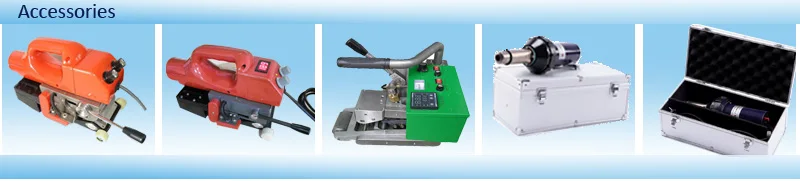
The following products will be assorted used.
Welding Equipment
Welcome your inquiry and sample order
Pls contact Katherine:
skype:jialutong-c
+86 182 6538 0933
BBM: 74E9F466